How to Mix Drums in Your Home Studio Without Them Sounding Plastic
The kick and snare are the skeleton of any production. If they sound bad, no EQ, compressor, or reverb will save the track
Poorly mixed electronic drums are one of the most common problems in home studio productions. Samples sound promising in the pack, but once you drop them in the project something doesn’t click: the kick is soft, the snare is boring, the hi-hat shrieks. This post gives you the complete workflow for mixing drums professionally using free plugins.
Step 1: Gain Staging Before Anything Else
Before touching a single plugin, make sure your samples are at the right level. A kick arriving at your channel at -18 dBFS has far more headroom to work with than one already sitting at -4 dBFS. The goal is to mix with the faders — not push everything to max and then try to tame volume with compressors.
Step 2: Surgical EQ on Each Element
The kick needs defined low frequencies (around 50–80 Hz for the body) and a punchy attack in the mids (around 2–4 kHz so it cuts through the mix). The snare lives between 200 Hz and 5 kHz — cut the mud between 300–500 Hz and boost the crack at 2–4 kHz. Hi-hats almost always benefit from an aggressive high-pass at 500 Hz or above to keep the midrange clean.
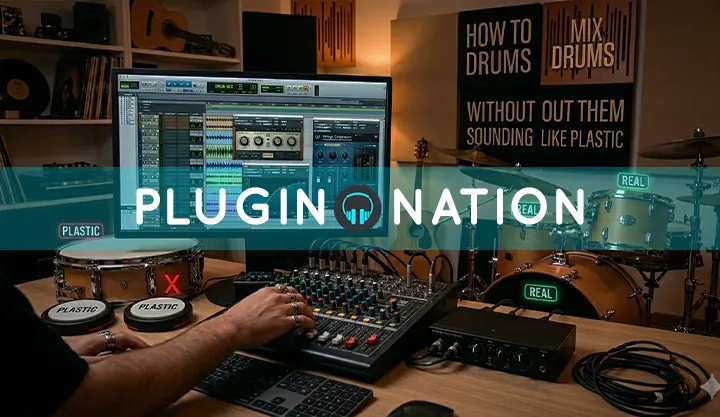
🎛 Free EQ Plugins at Plugin Nation
- Free VST Equalizers — to surgically shape every frequency of your drums.
- Free VST Compressors — to control kick and snare dynamics and deliver consistent punch.
Step 3: Parallel Compression for Punch
Parallel compression (also called New York compression) is the secret behind the heavy drum sounds of great hip-hop and rock hits. The technique involves sending drums to an aux channel with very aggressive compression (high ratio, fast attack, lots of gain reduction), then blending that compressed channel back with the original uncompressed signal. The result: you preserve the natural transient of the hit while adding the thickness of the compressed body.
PRO TIP
- For effective parallel compression, push the threshold down until the VU meter sits constantly at -12 dB of gain reduction. That sounds excessive, but in the blend it’s exactly what gives the drum bus its gravity.
Step 4: Transient Shapers for Attack
A transient shaper is probably the most underrated plugin in drum mixing. Unlike a compressor that works based on level, a transient shaper directly manipulates the attack and sustain of the sound. Kick too soft? Boost the attack. Snare with too much rattle? Cut the sustain. These are adjustments a conventional EQ or compressor simply can’t make.
🎛 Boosters and Transient Shapers at Plugin Nation
- Free VST Boosters — includes transient shaping and enhancement tools to bring your percussion to life.
Step 5: Cohesion Through the Drum Bus
Routing all your drum elements to a drum bus and applying gentle compression (2:1 ratio, slow attack to let transients through) is what makes drums sound like a unit rather than loose samples. Add a touch of saturation on the bus for analog warmth and you’ve got a kit that feels glued and alive in the mix.
Mixing drums doesn’t require expensive hardware or paid plugins. It requires understanding what’s wrong with each element and knowing which tool to apply. All the compressors and equalizers you need are available for free at Plugin Nation.