Home Studio Acoustics Treat Your Room Without Breaking the Bank
It doesn’t matter how good your plugins are if what you hear through the monitors is an untreated room. Acoustics are the foundation of everything
It’s one of the least glamorous topics in music production and simultaneously one of the most important: the acoustics of your listening space. You can have the best monitors on the market, the best DAW, the best plugins — if your room has severe acoustic problems, you’re mixing in response to what the room adds to the sound, not what’s actually in the audio. And that shows when you play the track on other systems.
The Three Main Problems of an Untreated Room
First are room modes (standing waves): low frequencies that accumulate in certain parts of the room, creating “spots” where bass sounds exaggerated or completely absent. Second are early reflections: sound from the monitors bounces off walls, floor, and ceiling and reaches your ears milliseconds after the direct signal, creating a kind of blur that makes depth and element positioning hard to perceive. Third is reverberation time (RT60): if your room reverbs too much, the entire mix sounds echoey even when there’s no reverb in the plugins.
Acoustic Treatment vs. Soundproofing: Don’t Confuse Them
Soundproofing prevents sound from entering or leaving the room. Acoustic treatment improves how sound behaves inside the room. These are completely different problems. To mix well you need acoustic treatment. Real soundproofing (mass, decoupling, air gaps) is expensive and structural — for most home studios it’s not the primary objective.
Where to Place Treatment: The Critical Points
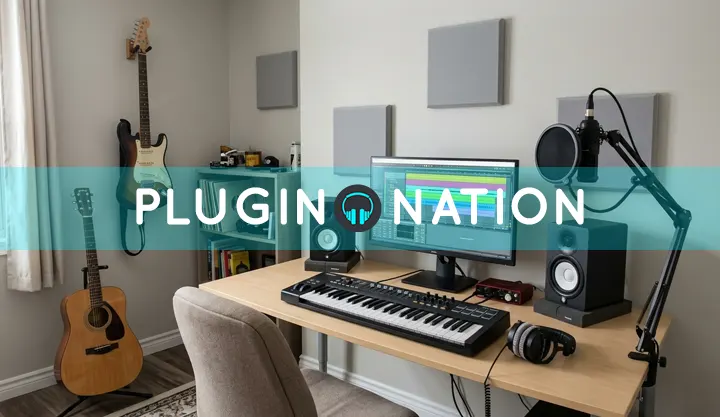
Primary reflection points are the side walls at monitor height (about 1/3 from the front of the room), the rear wall, the ceiling between the monitors and your head, and the room corners where bass accumulates. An absorptive foam or rockwool panel of 5–10 cm at the primary reflection points already makes an audible difference. Corners need bass traps — cylinders or blocks of dense absorptive material that interrupt low-frequency accumulation.
🎛 Spectrum Analyzers at Plugin Nation
- Free VST Equalizers — to digitally compensate for some frequency irregularities from the room on the master bus.
- Free VST Analyzers — essential tools to visualize problematic frequencies in your room and mixes in real time.
- Before investing in acoustic treatment, measure your room with a free app like REW (Room EQ Wizard) and a cheap measurement microphone. The room’s frequency response curve tells you exactly where the problems are and how much treatment you need.
DIY Solutions That Actually Work
Rockwool (Rockwool, Isover, or similar) panels in wood frames covered with acoustic fabric are the most cost-effective solution available. A density of 60–80 kg/m³ is ideal for absorbing mids and highs. For bass you need greater thickness (10 cm or more) and corner placement. You don’t need to cover 100% of the walls — treating 30–40% of the room surface plus the main corners already delivers results that let you work with confidence.
Monitor Placement Matters as Much as Treatment
Placing monitors directly against the rear wall artificially boosts low frequencies. Ideally position them at least 30–50 cm from the wall. The listening position should be roughly at 38% of the room’s length from the front wall — this mathematical point minimizes the most severe room modes. Monitors and your head should form an equilateral triangle.
Improving your home studio acoustics is probably the highest-return investment you can make as a producer — more than any new plugin. Once you have an honest room, the mixes you make in it translate well to any system. Pair that with good free spectrum analyzers to monitor frequencies in real time and your workflow takes an immediate quality leap.